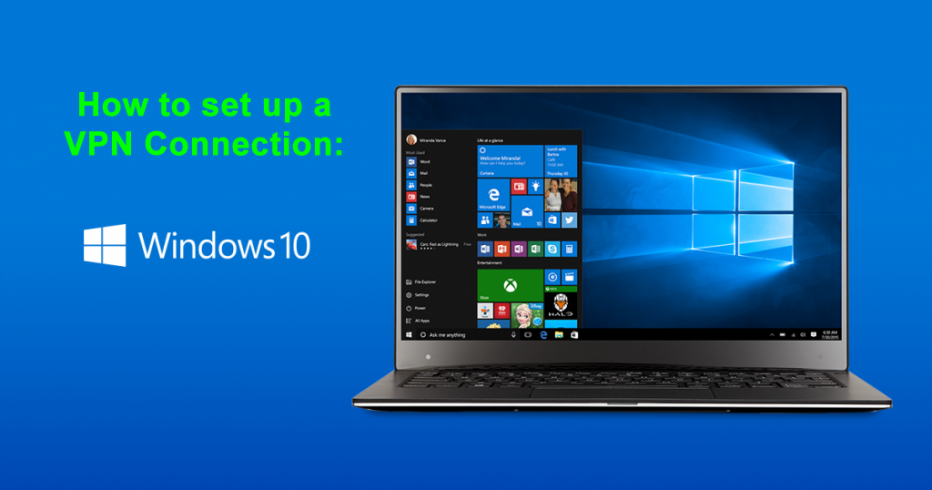
How to Setup a VPN connection in Windows 10
Heidi Finigan | Last Updated:
VPN Streaming Expert
The popularity of VPN services has grown by leaps and bounds over the past few years. This is because people have understood just how dangerous it is to browse the internet without taking the necessary steps to ensure your privacy and anonymity on the internet. Since VPN services provide these as well as other features like helping one bypass geo-restrictions, VPNs have become the go word today.
The method of setting up a VPN on Windows systems has changed with Windows 10. It is markedly different from Windows 7 and 8 guidelines. Before you begin with the steps listed below, make sure you have the required credentials to access a server through your Windows 10 system otherwise a VPN connection cannot be set up.
Setting up VPN connection in Windows 10
- Login to your Windows 10 system using the administrator account.
- Next, click on the Start button. You can find it on the bottom left part of the screen.
- Now click on Settings under the Places section.
- A window will appear on the screen with different icons like System, Devices. Click on the Network & Internet icon.
- After this, select VPN category from the left pane.
- You will now need to click on the ‘+’ icon.
- After clicking on ‘Add a VPN connection’ a form will appear. Fill it with the right values.
- You can find a checkbox labelled ‘Remember my sign-in info’ at the end of this form. Check this field so that you don’t have to repeat this process the next time you wish to set up a VPN. In case you are using a public computer in an Internet café or a public library do not check this checkbox.
- Once you have set up your own VPN connection by following steps 1-8, your VPN connection will appear in the right pane of the VPN option in the Network & Internet window. Feel free to select the VPN you just created.
- There will be three buttons under your VPN’s field. These are for connecting to that particular VPN and to remove the connection. You can also make changes to your VPN connection with the Properties button.
The Advanced Settings option under the Additional Settings section can also be used to manage the proxy settings and automatic detection of your VPN. You can find this right under the VPN connection you created. Establishment of the connection can be done by clicking on the Network icon from the system tray which is located at the bottom right corner of your screen. After that, do the following:
- Select Wi-Fi or Ethernet from Network & Internet pane
- Click on Show available connections
Making the right selection between Wi-Fi and Ethernet is quite important. This is because it depends on the network card which is responsible for establishing a connection between your Windows 10 system and the internet.
EndNote
We provided you a guide to set up a VPN connection on a Windows 10 system in this article. The changes introduced by Microsoft in Windows 10 were making it difficult for many people across the world to establish a VPN connection on their system. This guide has been provided for the sole purpose of helping those people.
PRIVACY ALERT: Websites you visit can see your current IP Address:
- Your IP Address: 18.117.142.248
- Your Location: Dublin, US
- Your Internet Provider: Amazon.com, Inc.
* Scammers, Governments, and Advertisers can use this information to track and target you.
Our recommended vpn service provider for general all-round internet security and online privacy is ExpressVPN. It offers an excellent selection of online security and internet privacy features, excellent speed, and the ability to unblock your favorite streaming services (Netflix, Hulu, Amazon Prime, BBC iPlayer).
Visit ExpresssVPNCategories: Guides